
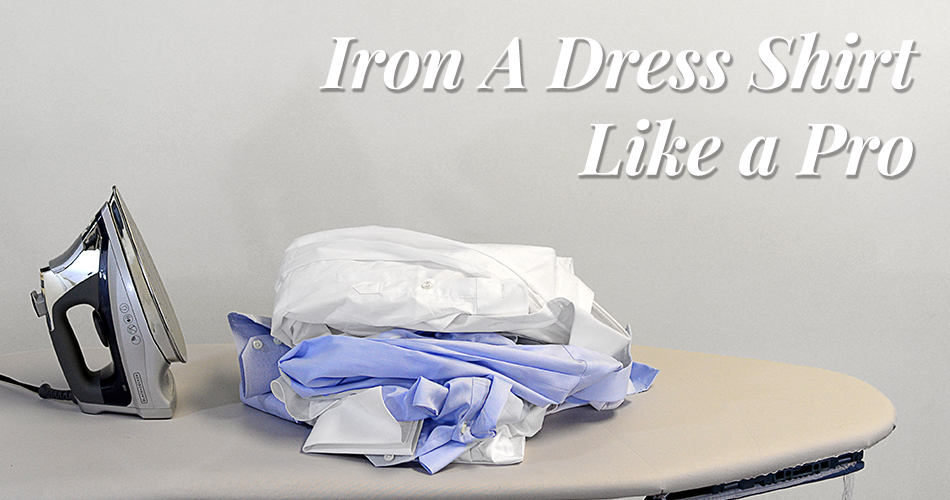
How to Iron A Dress Shirt Like a Pro
Don’t make the mistake of going out in a wrinkled shirt, looking like a schlub. Learn how to iron a dress suit properly and maintain your crisp, clean look.
How to Iron a Dress Shirt Properly
When you think of man-skills, knowing how to iron a dress shirt may not be the first thing that pops into mind. But if you’re a subscriber to The Compass (you’re reading this article and that’s a sign that you’ll like what we publish so you really should subscribe), you know that we believe taking care of your stuff is about as manly as it gets. From changing a flat to shaving your face, the manly arts are all about doing stuff with your own two hands and knowing how to iron a dress shirt should be at the top of any sharp dresser’s list.
That’s just one reason it makes sense to know how. There’s also the fact that washing and ironing your dress shirts at home can save you some cash or that you’re not dependent on your dry cleaners’ schedule to have a freshly pressed shirt. And speaking of dependence, it should go without saying, but the days of depending on your mother or your wife to iron you your dress shirts are long gone. So man up and learn how to get the wrinkles out of a dress shirt with these step by step instructions.
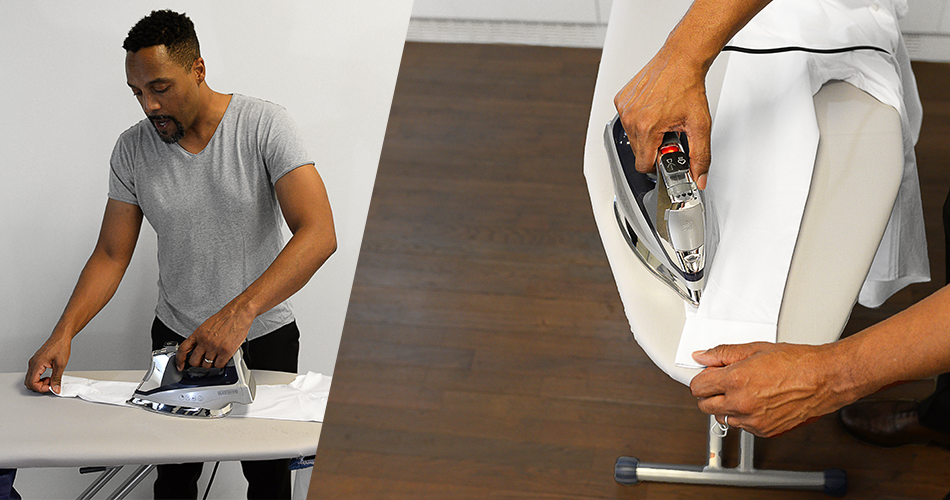
How to Iron a Dress Shirt: The Supplies
Hardware:
Software:
A clean but wrinkled dress shirt.
Different shirts require different settings but a quality 100% cotton dress shirt can handle a hot iron. To play it safe, pick a wrinkle down at the bottom of the shirt where it will be tucked in, set your iron to a medium/low setting and dial up the heat until you the fabric respond and wrinkles disappear. Once you’ve determined your setting, proceed to…
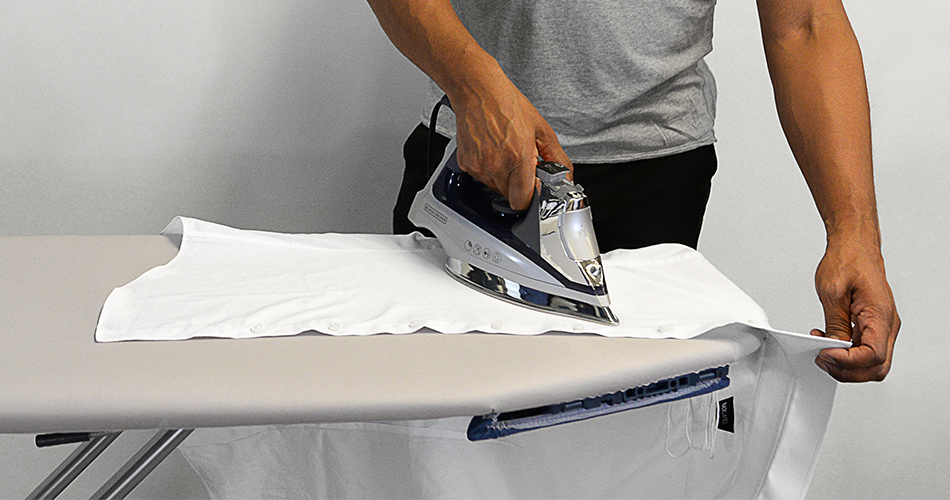
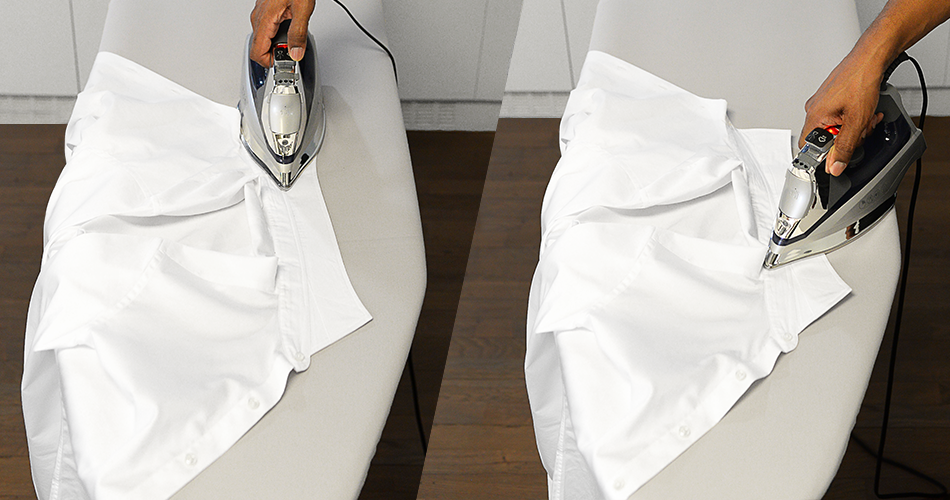
Iron The Yoke


Start with the inside of the yoke of the shirt (that’s that top area of the shirt that connects the collar to the back, chest and sleeves that gets filled out by the tops of your shoulders when you’re wearing the shirt). Once you’ve done the inside, iron the outside of the yoke. Ironing the inside of your shirts as well as the outside gives them an added crispness and only takes a minute.
A note about the order:
While some suggest starting with the collar because it is such a key spot to get right, we suggest leaving the collar until last so that you don’t wrinkle it in the process of maneuvering and ironing the body of the shirt. Realistically, ironing order really doesn’t make a ton of difference to the final outcome if you’ve done a good job.
Iron The Upper Chest
On most dress shirts, ironing the upper chest is pretty straightforward. On shirts with a pocket on the chest, be sure to move the iron from the bottom to the top of the pocket so that you don’t bunch the fabric and accidentally iron the creases into the fabric.
Iron The Stomach & Placket
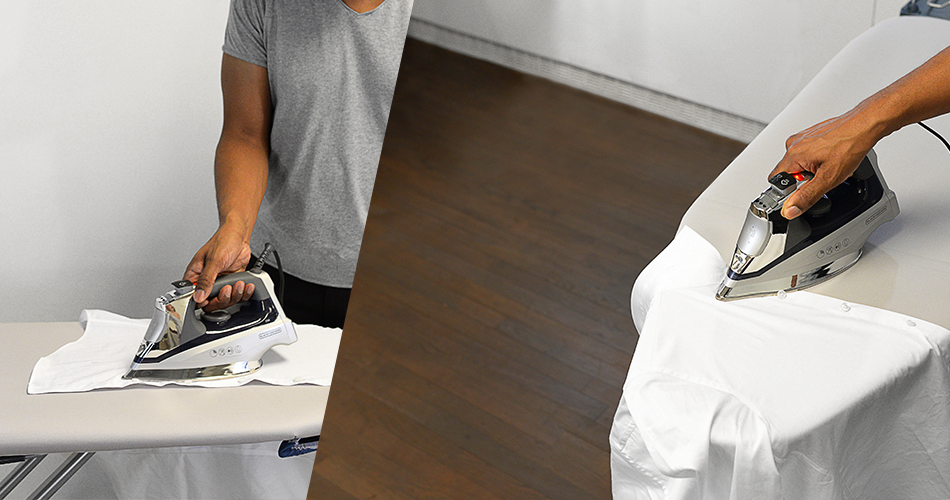
Ironing the lower front of the shirt is as simple as the upper chest. This is also the time to pay special attention to the shirt’s placket (the strip of fabric that overlaps where the buttons and buttonholes meet). Most irons a made with a lip so you can slide the hot iron around the buttons and get the wrinkles out of the fabric without pressing the buttons.
Iron The Back
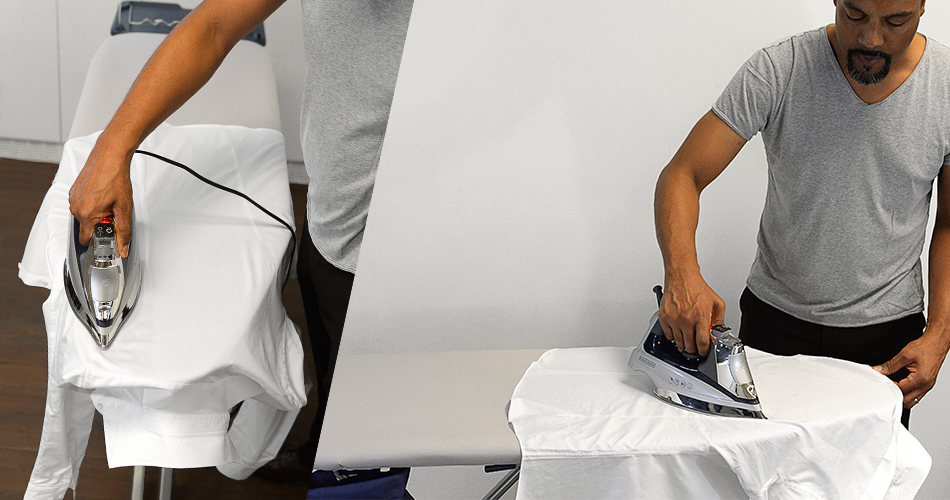
Like the chest, the back of a dress shirt is pretty simple to iron. Some shirts have pleats in the center or on the sides of the back. To iron the pleats, start by ironing the lower part of the folded fabric, then, starting from the top of the shirt, iron the crease formed by the pleat down the shirt until it naturally flattens out.
Iron The Sleeves and Cuffs
Lay the sleeve down and press the cuffs flat first. Then spread the shirt sleeve out as flat as possible before pressing the shirt. This is important because while you’re ironing one side of the sleeve you’ll be pressing against the other side and potentially creating creases. Dress shirt sleeves taper as they reach the wrist and often have pleats where they meet the cuff. Treat these pleats as those on the back of the shirt and iron under the folded area first, then iron the from the wrist back up the sleeve toward the body, forming a small, crisp crease.
Iron The Collar
You should have removed any detachable collar stays before washing, but if not, remove them now and lay the collar out flat on the ironing board. Iron the collar from the center of the collar out toward the points. For a finishing touch, fold the collar for wear and run the iron over the edge of the collar to help the collar hold its shape.
Congratulations Ironman
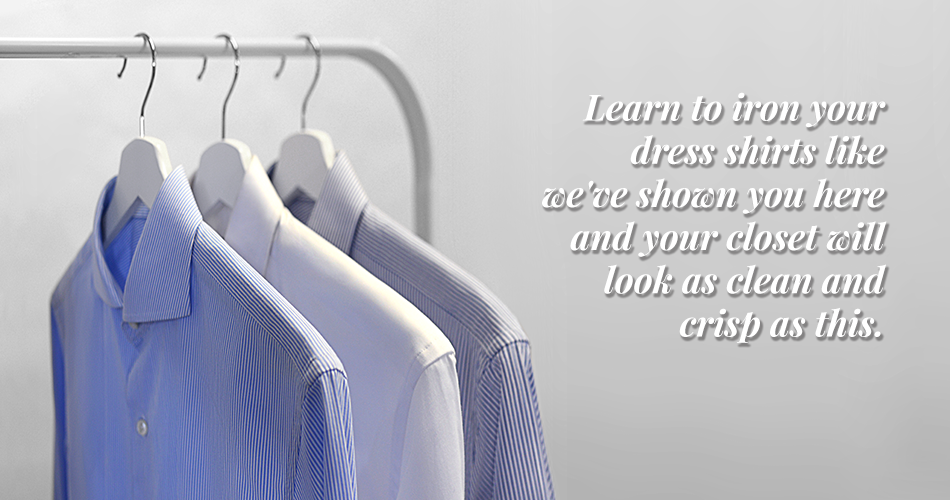
Now you know how to iron a dress shirt. No you’re not an Ironman triathlete or Iron Man from the comics, but you now have a skill that is almost as valuable as being able to swim, run and cycle great distances or shoot energy from your palms, you can make any dress shirt look great with just the touch of your iron. And we think that’s pretty badass.
Your Next Move:
Like What You See? There's More.
We'll send you style advice and intel for the modern man.
Hi! The problem seems familiar. It occurs because the interlining for neckband or collar is stiff. The collar wants to straighten itself, so it pushes unsightly creases into shirt front. Bend the collar, while ironing.
To avoid creases forming, keep uppermost button of shirt closed, kept on hanger or folded.
I LOVE men in suits!
Very nice article. Informative and easy.
I’ve been ironing my dress clothes for about 5 years now and since then I have been having a hard time with getting the wrinkles out around on both sides where the top button is on the placket. It gets really bunchy and does not iron out well, especially on the button side. A lot of times hitting it with starch won’t even do the trick. Do you know what the source of this wicked curl is? It’s sad to keep having to get rid of nice shirts.
Without seeing it, there’s no way we can be certain, but here’s what could be going on. The placket should be like any other part of the shirt and ironing out the wrinkles shouldn’t be any more difficult than ironing out wrinkles in any other part of the shirt. So, why would this particular part of the shirt be difficult to keep from curling? One reason might be weight. Plackets are thicker and, by nature, heavier than other parts of the shirt. If your shirts are made from particularly light and flimsy fabric and the plackets are hefty, the sheer weight of the placket is going to pull the collar down a bit creating a curl. Another reason might be that way the shirt has been washed. If the fibers in the placket have shrunken at all, they could be pulling the top and second button together, creating a curl.
Again, this is all speculation, but one solution might be to wear more ties. Then you won’t have to worry about any of this area of your shirts being visible.
Very nice